Our feet are remarkable. They carry us through life, yet we often neglect them until discomfort strikes. A perfect pedicure is more than a splash of pretty polish; it’s a vital ritual of hygiene, self-care, and preventative health. It transforms tired feet into rejuvenated foundations, boosting both comfort and confidence.
Why Make Pedicures a Regular Ritual?
Regular pedicures are essential for several reasons. First, they maintain foot health. Trimming nails correctly prevents painful ingrown toenails. Exfoliating removes dead skin, preventing calluses and cracks that can become infected. Second, it’s a act of preventative care. You regularly inspect your feet for any changes—fungal infections, bruises, or swelling—allowing for early intervention. Third, it offers undeniable comfort. Removing pressure points and smoothing rough skin makes every step feel lighter. Finally, it’s a potent form of self-care. Taking time to nurture your feet reduces stress and fosters a sense of well-being. Beautifully groomed feet, whether in sandals or bare, simply make you feel good.
The Essential Toolkit for a Perfect Pedicure
You don’t need a salon-style setup. The perfect at-home pedicure requires just a few key products:
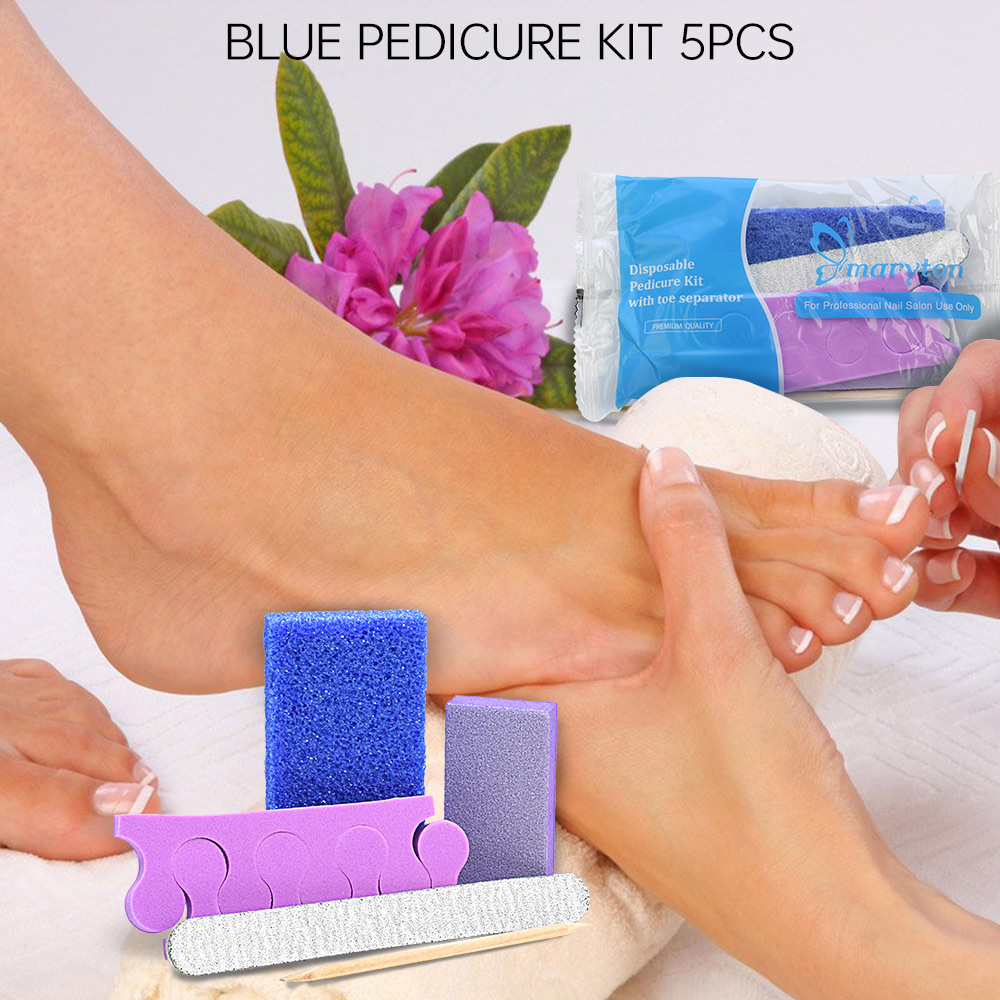
1. Basic Tools: A sturdy toenail clipper, a fine-grit emery board, a pumice stone or foot file, and a pair of cuticle pushers (preferably orange sticks).
2. Soak & Cleanse: A gentle foot soak with Epsom salts or a moisturizing bath. Antibacterial soap is crucial for cleaning tools and skin.
3. Exfoliation: A foot scrub with granules (sugar, salt) or a chemical exfoliant with lactic acid to slough away dead skin.
4. Moisturize & Nourish: A rich, thick foot cream containing urea, shea butter, or glycerin. Cuticle oil is a game-changer for nourishing nail beds.
5. Polish (Optional): A base coat, your chosen nail polish, and a quick-dry top coat for longevity.
Step-by-Step to Pedicure Perfection
Follow this simple sequence for salon-worthy results at home.
Step 1: Prep & Soak. Remove any old polish. Fill a basin with warm water. Add your soak and soak feet for 10-15 minutes to soften skin and nails. Dry thoroughly.
Step 2: Trim & Shape. Trim toenails straight across—never rounded at the corners—to prevent ingrown nails. Use the emery board nail file to gently smooth any sharp edges, filing in one direction.
Step 3: Care for Cuticles. Gently push back the softened cuticles with a pusher. Do not cut them; they are a protective barrier. Apply cuticle oil.
Step 4: Exfoliate & Smooth. Use the pumice stone or foot file on damp skin, focusing on heels and balls of the feet. Use gentle, circular motions. Follow with a granular scrub over the entire foot for a thorough polish. Rinse and dry.
Step 5: Moisturize Deeply. Massage a generous amount of foot cream onto each foot, focusing on dry areas. For intense treatment, wear cotton socks afterwards to lock in moisture.
Step 6: Polish (Optional). Apply a base coat, two thin coats of color, and a top coat. Allow ample drying time between layers.
Crucial Technique Tips for Flawless Results
- Straight-Across Cutting: This is the golden rule for toenails. Curving the edges encourages the nail to grow into the skin.
- Gentle Exfoliation: Never sand your skin raw. Be patient with the pumice stone; gentle, consistent pressure is better than aggressive scrubbing.
- Cuticle Respect: Pushing is caring; cutting risks infection. Keep them moisturized.
- Tool Hygiene: Disinfect your clippers and files with rubbing alcohol before and after every use. This prevents the spread of bacteria and fungus.
- Thin Coats of Polish: Thin layers dry faster and last longer than one thick, gloopy coat.
Why Correct Technique Matters So Much?
Using the right techniques isn’t just about aesthetics—it’s about safety and long-term health. Incorrect cutting can lead to painful ingrown toenails, which may require medical treatment. Harsh exfoliation can create micro-tears, leaving skin vulnerable to infection, especially for those with diabetes or poor circulation. Unhygienic tools are a primary culprit for spreading fungal and bacterial infections. Furthermore, proper technique ensures longer-lasting results. A well-executed pedicure, with nails shaped correctly and skin thoroughly moisturized, will keep your feet in better condition for weeks, not just days.
In conclusion, the perfect pedicure is a harmonious blend of the right products, a mindful process, and careful technique. It’s a practical investment in your mobility and health, and a simple, profound gesture of care for the body that carries you. So, set aside an hour, gather your tools, and turn this routine into a restorative ritual. Your feet will thank you with every comfortable, confident step you take.
Read also: What are dry feet and what are the natural solutions?